- Go to the official website: https://winscp.net
- Download the Installation package and install it.
- Open WinSCP.
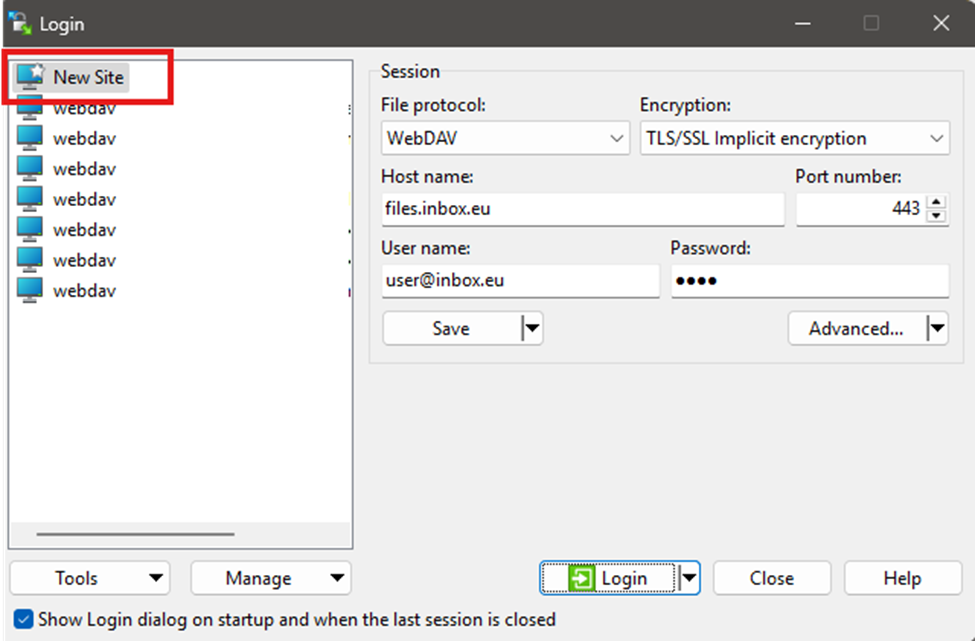
- In the start window, click "New Site".
Configure the connection:
- File protocol — select WebDAV.
- Encryption (with encryption) — TLS/SSL Implicit encryption.
- Hostname — enter your server address:
files.inbox.lv (for inbox.lv users)
files.inbox.eu (for inbox.lt, mail.ee, inbox.eu, and domain users)
- Port number — 443
- User name — your full email address (e.g., user@inbox.lv)
- Password — your email password
Additional settings:
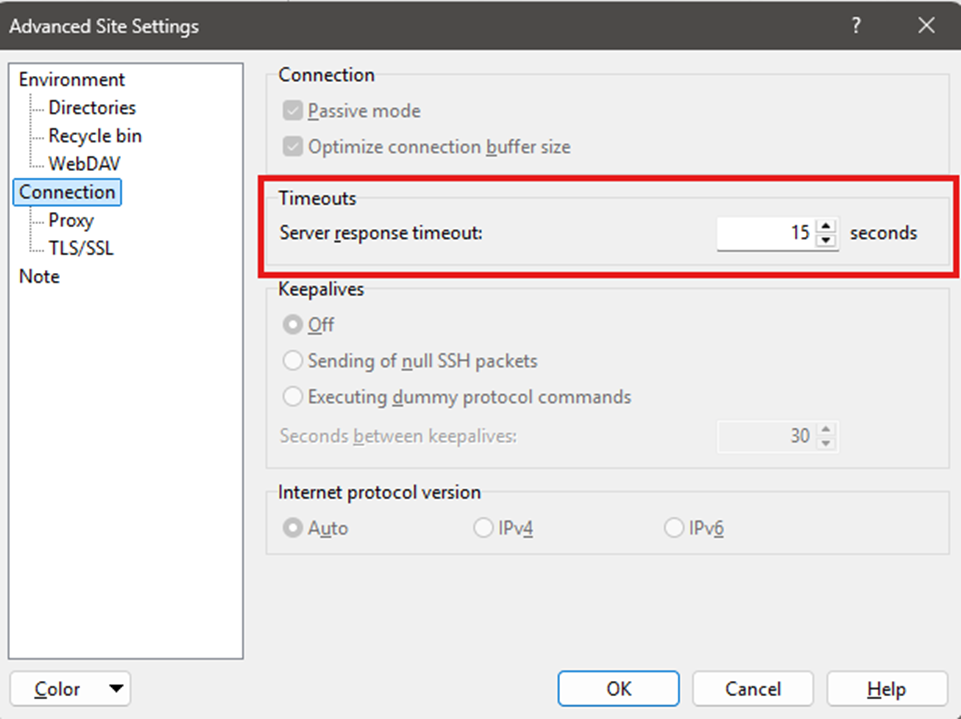
1. Advanced… → Connection → Timeouts (Server response timeout) — for large files, increase the timeout (e.g., to 120 seconds).
This parameter determines how long the client will wait for a server response before a timeout error occurs. If the user has a slow internet connection and/or works with large files, 15 seconds may not be enough. It is recommended to increase the timeout to 120 seconds or more if timeouts occur.
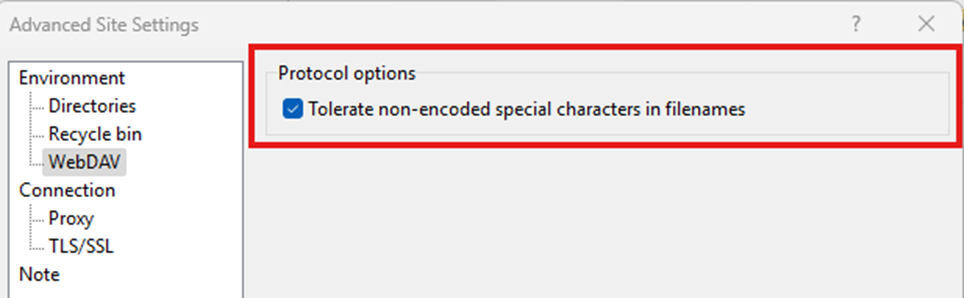
2. WebDAV → Protocol options → Tolerate non-encoded special characters in file names —
Check the box “Tolerate non-encoded special characters in file names” — this helps if the user works with files whose names contain non-ASCII characters.
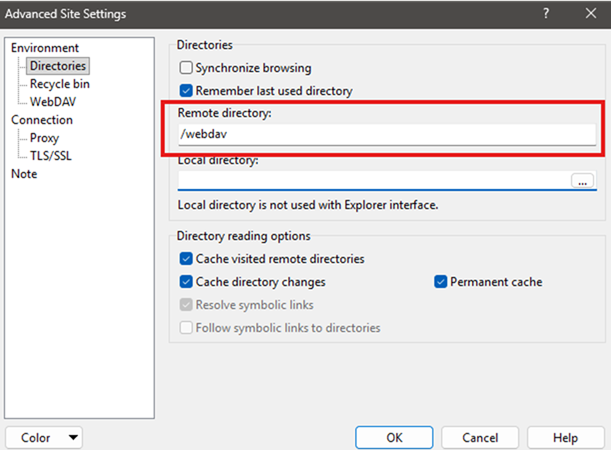
3. Advanced… → Environment → Directories — you can set the local and remote startup folders.
Go to “Directories” section and make sure that “Remote directory” contains value “/webdav”. If “Host name” was entered as files.inbox.lv/webdav (or files.inbox.eu/webdav) then it will be authomatically filled. But if “Host name” was entered only files.inbox.lv (or files.inbox.eu), then it is mandatory to add /webdav here or connection will not work.
4. WinSCP is a two-panel client, with your local files on the left and WebDAV on the right. You can drag and drop files, change permissions, edit directly on the server (Edit), and synchronize using Commands → Synchronize.
In case you did not find your answer contact us