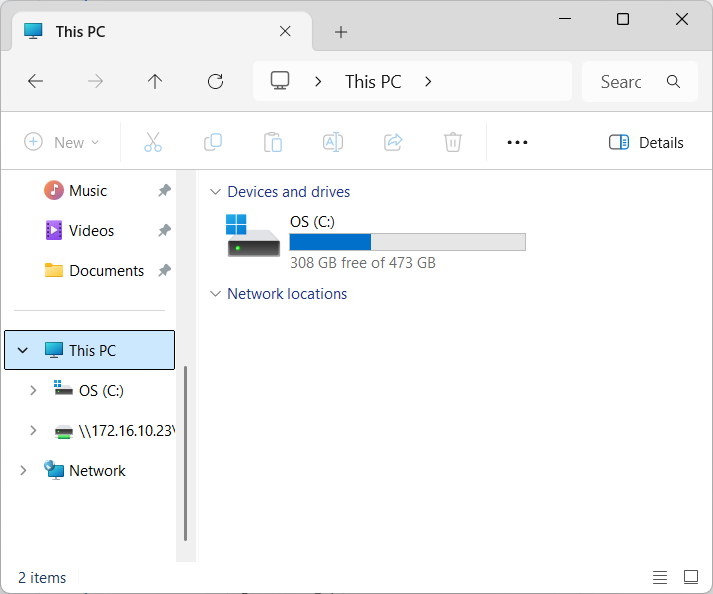
1. Open File Explorer
-
Press Win + E or open any folder.
2. Go to "This PC"
-
In the left panel, click on "This PC" and click the right mouse button.
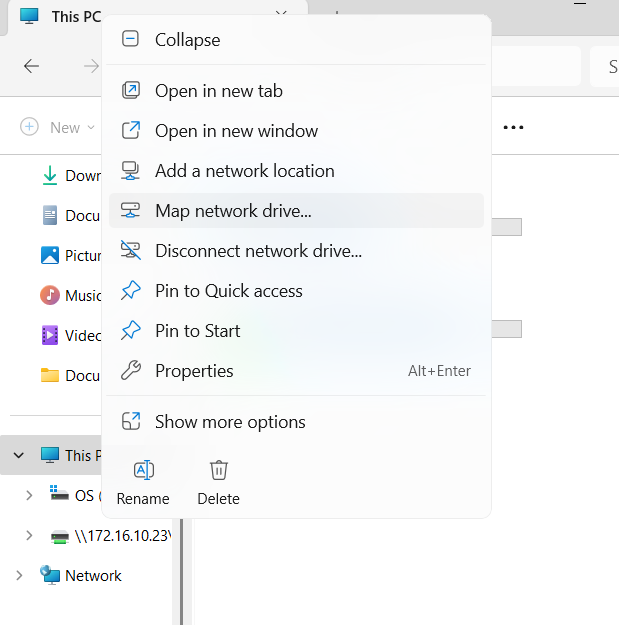
3. Click "Map network drive"
-
In the top menu, click "…" → "Map network drive".
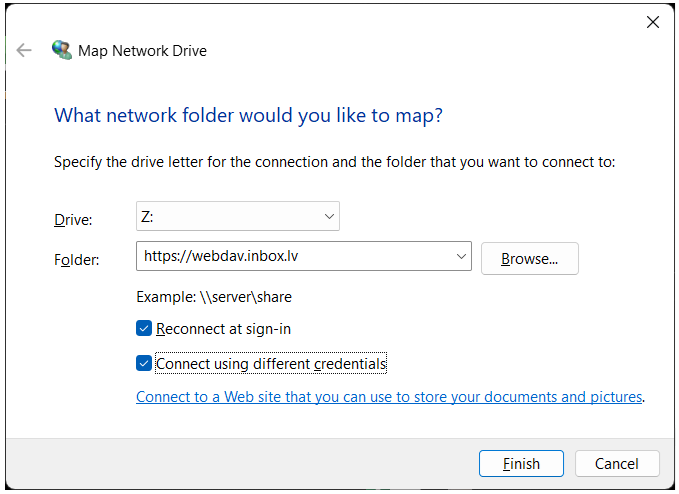
4. Choose Drive Letter and Enter WebDAV Path
-
Select a drive letter (e.g., Z:)
-
In the Folder field, enter your WebDAV address:
https://webdav.inbox.lv (for users: Inbox.lv, Mail.lv, Balticom.lv, Tvnet.lv)
https://webdav.inbox.eu (for users: Inbox.lt, Mail.ee, Inbox.eu, Inbox.pk, Inbox.vg, Inbox.qa)
5. Enable Options
-
Check the following:
-
☑️ Reconnect at sign-in
-
☑️ Connect using different credentials
-
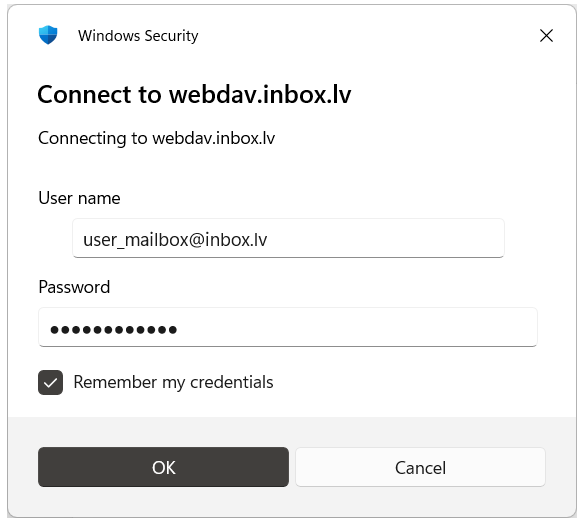
6. Enter Login and Password
-
Enter:
-
Username — your full email address (example: username@inbox.lv)
-
Password — same as for your mailbox login via inbox.lv page
- Allow - Remember my credentials
-
If a security prompt appears, confirm that you trust the connection.
-
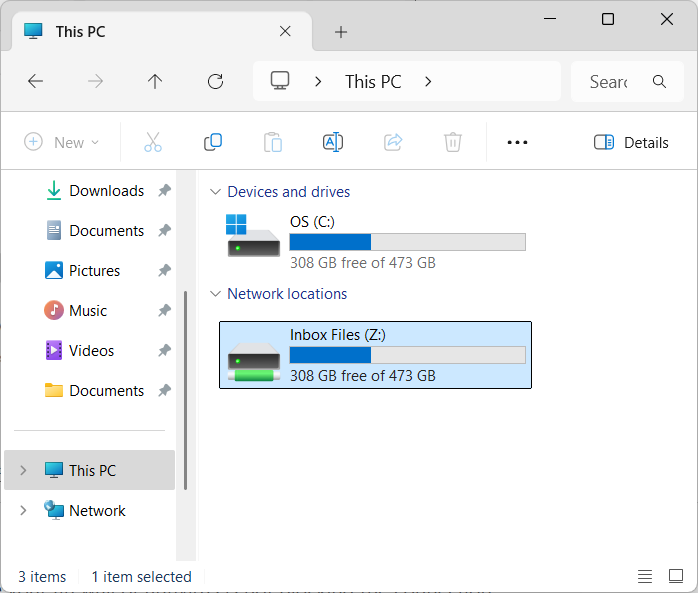
7. Done!
-
After connecting, the WebDAV drive will appear in File Explorer like a regular network drive.
Helpful Tips
-
Make sure your firewall or antivirus is not blocking the connection.
-
If it doesn’t work: try entering the https://webdav.inbox.lv (or https://webdav.inbox.eu ) address directly in the File Explorer address bar and press Enter.
- At the moment, you can connect via WebDAV to only one of your inbox.lv accounts at a time.
Si vous n'avez pas trouvé votre réponse, contactez-nous